NAVIC - Corrosion Mapping Scanner
NAVIC - Corrosion Mapping Scanner
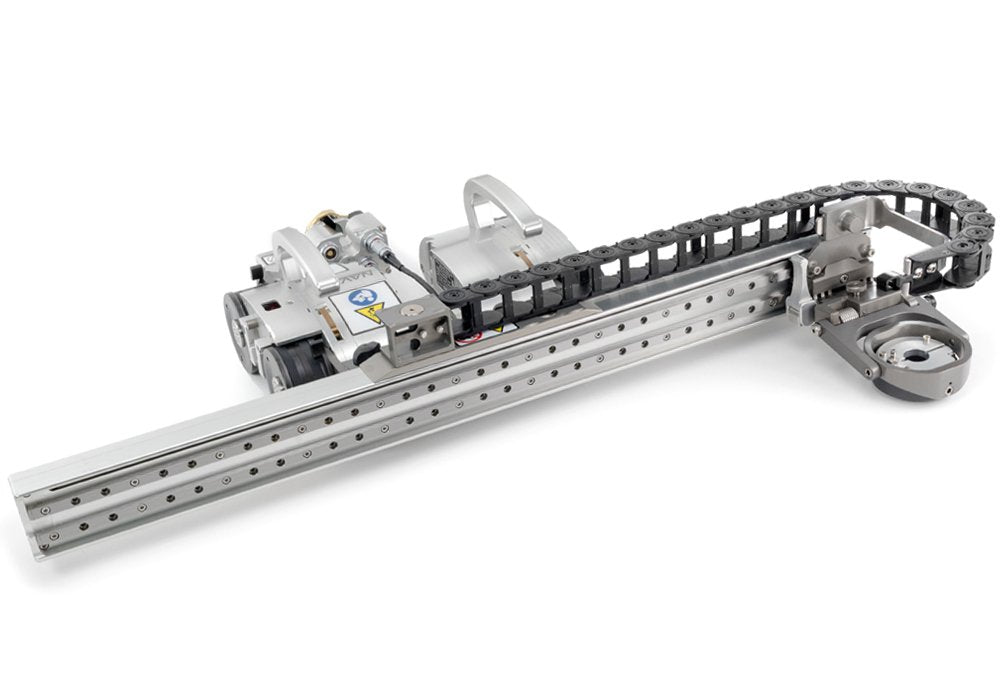
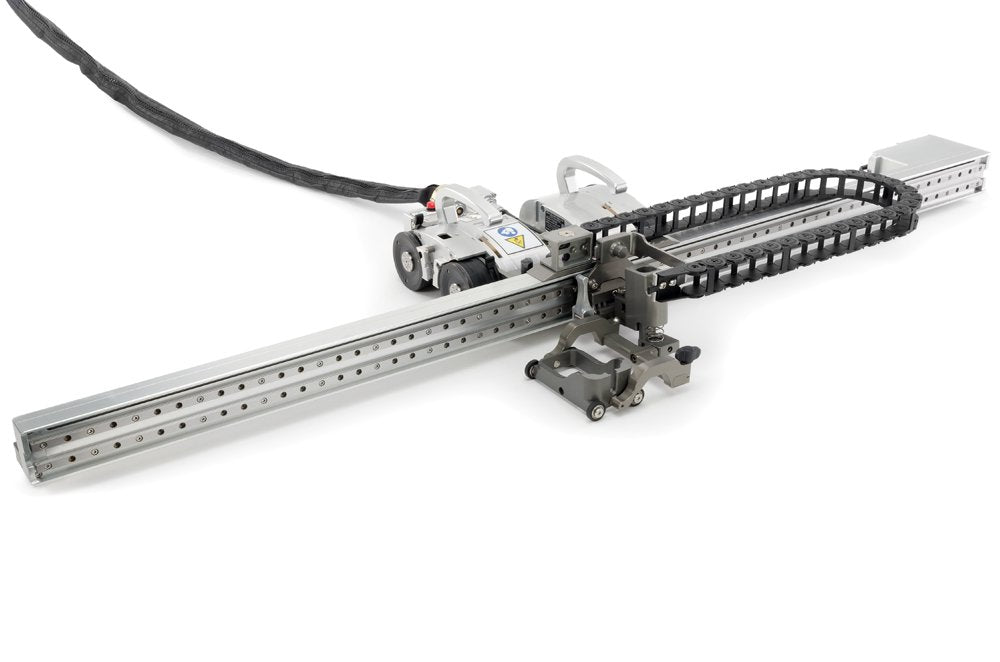
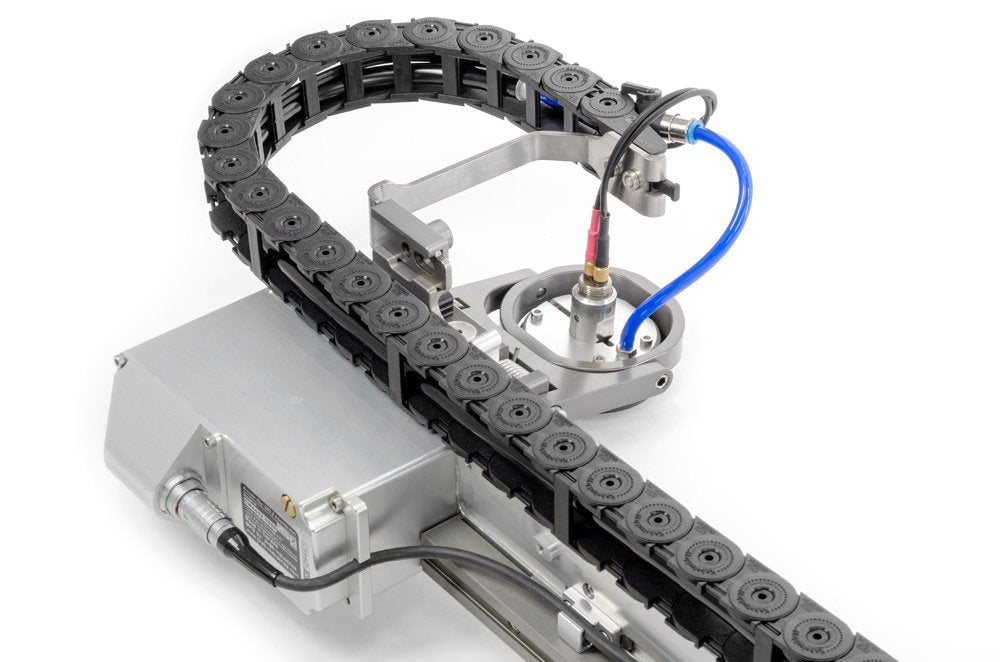
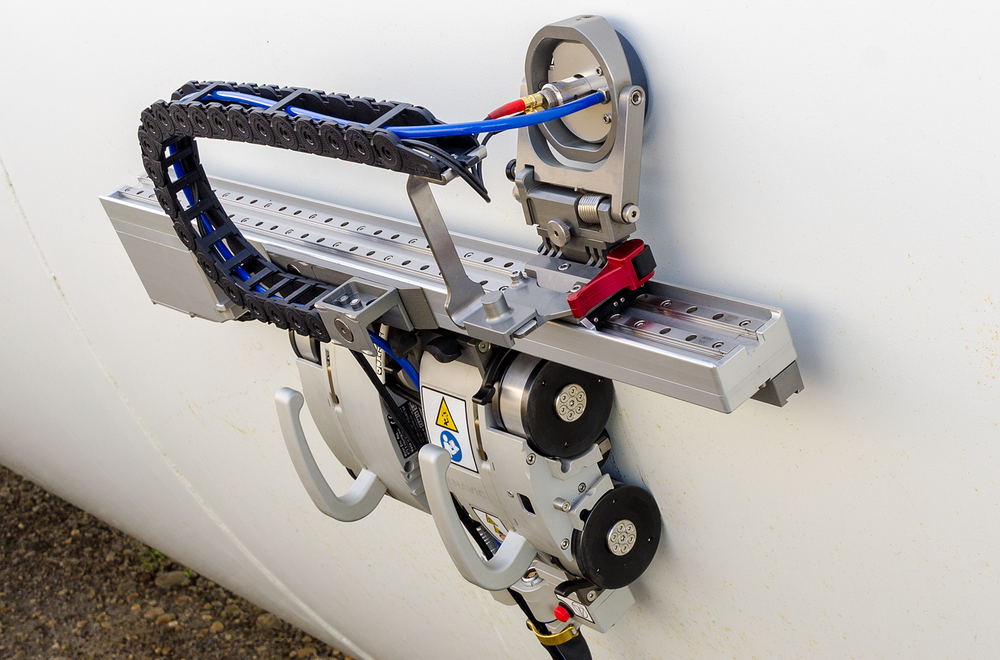
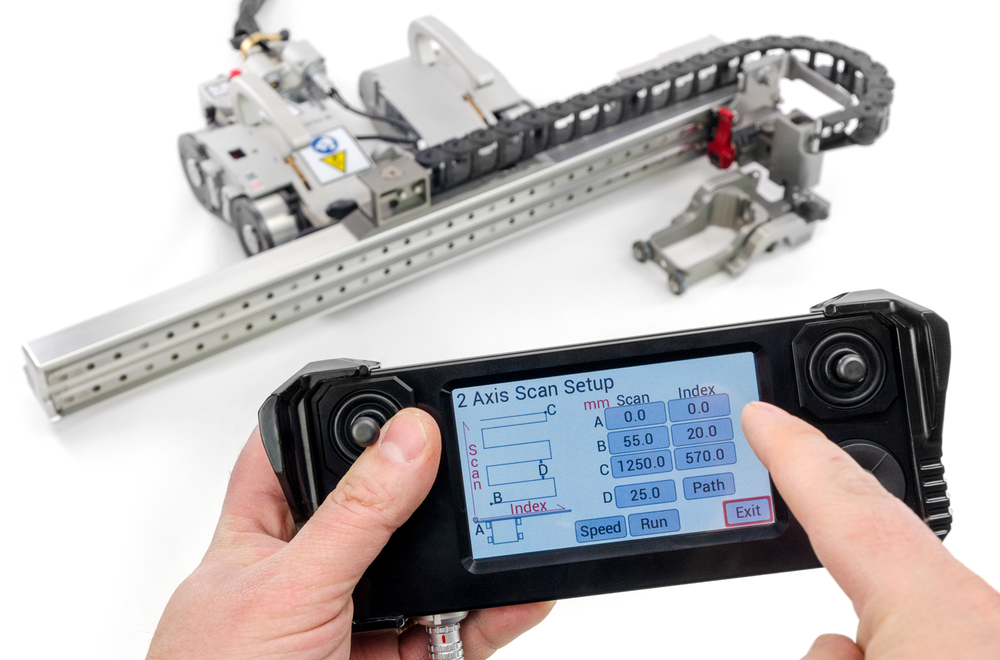
The NAVIC, in conjunction with the motorized raster arm, is engineered to assist in identifying variations in material thickness due to corrosion. The NAVIC - Corrosion Mapping Scanner will follow specific scan paths programmed using the remote handheld controller. Perform precision c-scans, line scans, HydroFORM and more using the wide variety of probe holders available.
Effortlessly perform corrosion mapping with a variety of automated raster arms solutions.
FEATURES
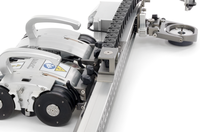
MOTORIZED DRIVING AND STEERING
Variable drive speed and steering control.
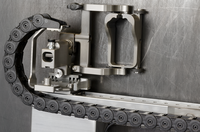
RASTER ARMS
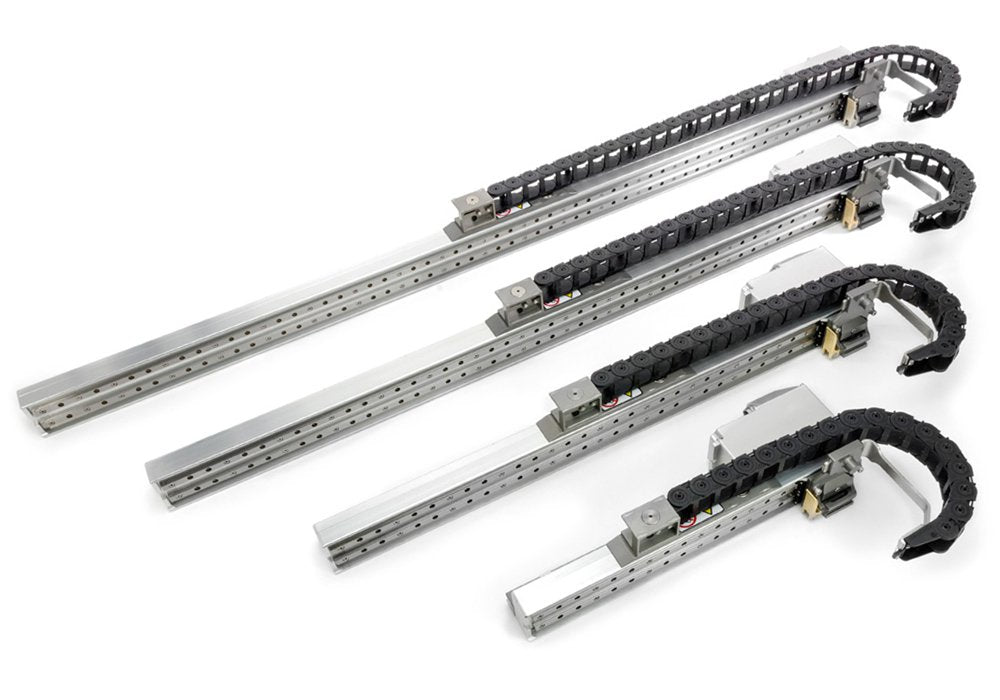
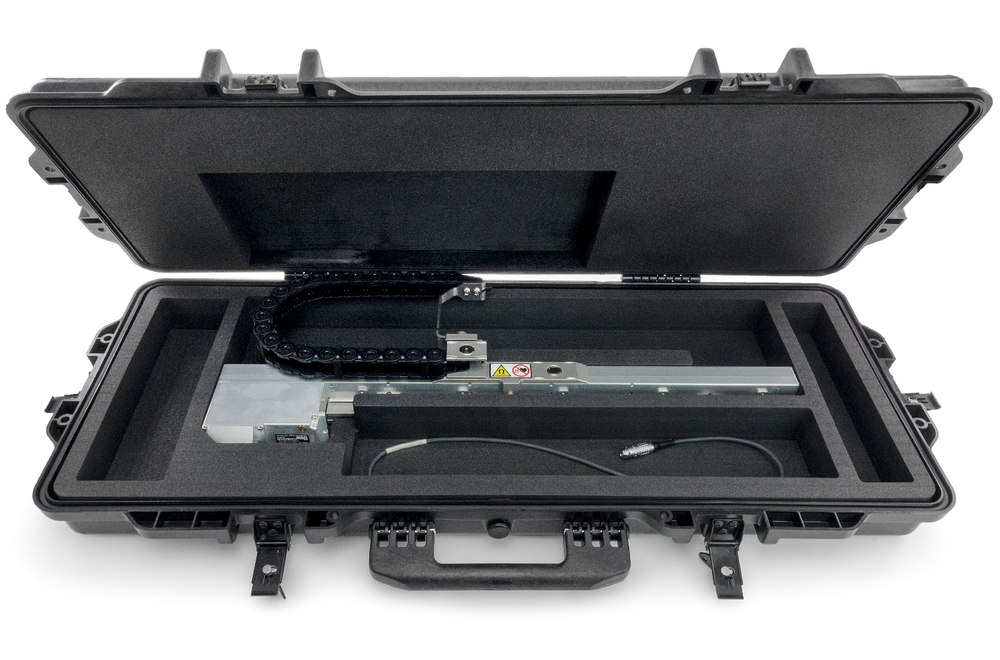
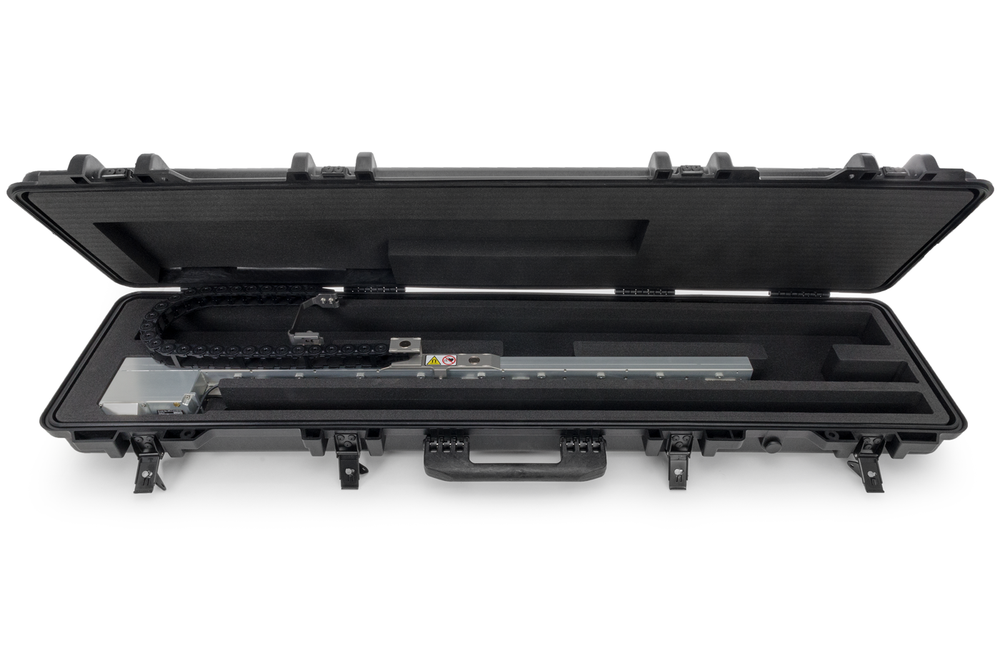
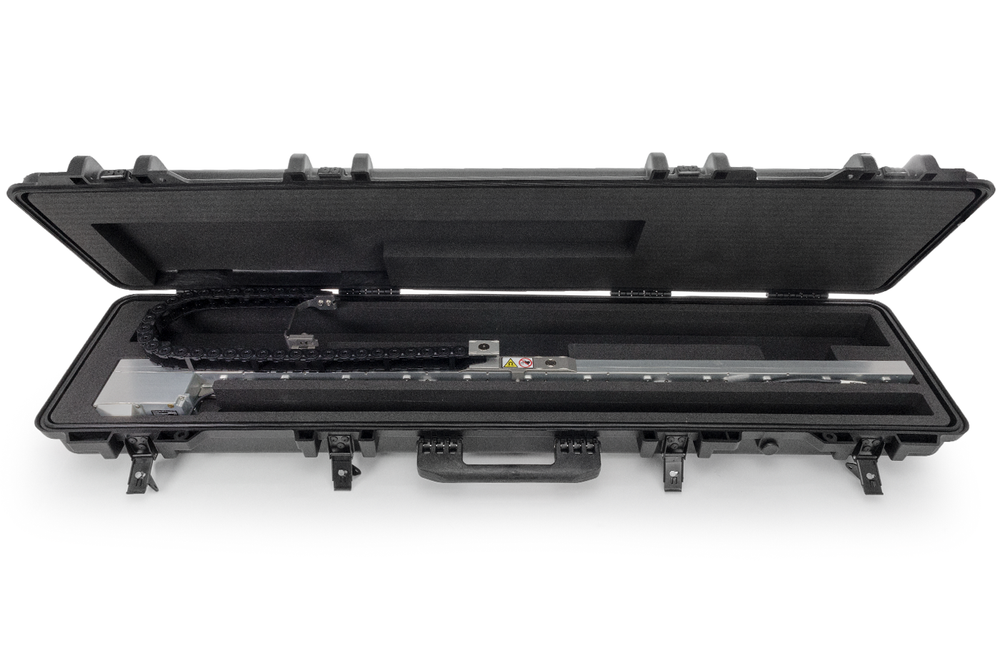
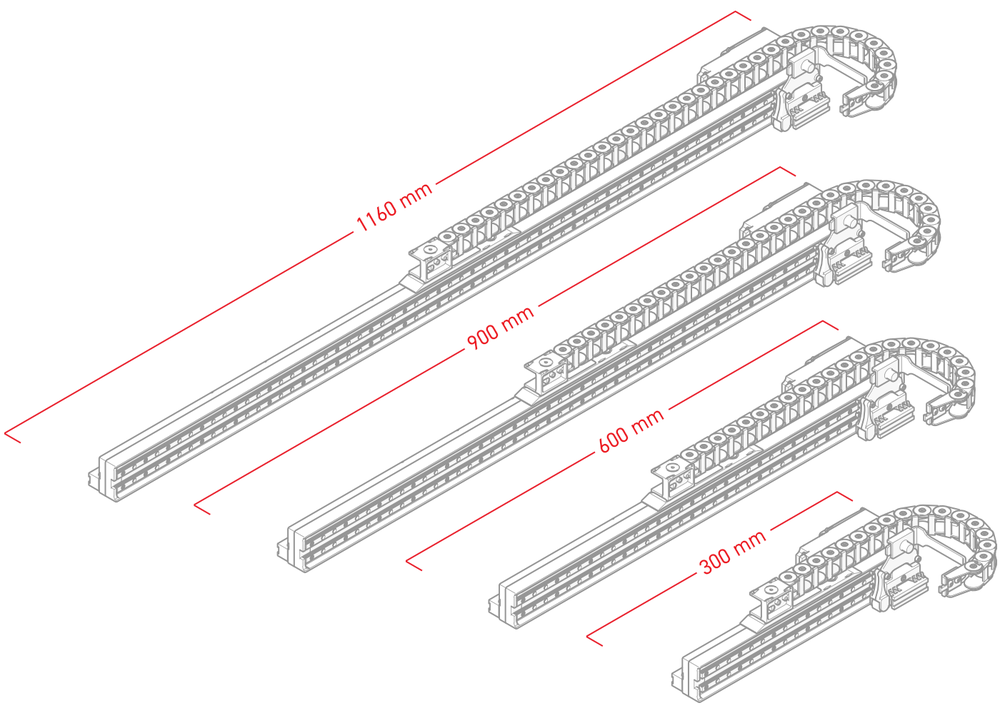
Available in 4 different lengths, the sophisticated raster arm delivers precision corrosion results: program custom scan paths, intervals, speed and more for repeatable and highly configurable inspection.
RUGGED
Designed to handle intense tasks and challenging environments (dust-tight, watertight)
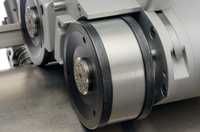
MAGNETIC WHEELS
Magnetic wheels provide the foundation for scan operations on ferrous surfaces
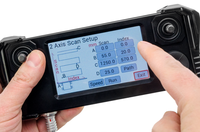
REMOTE CONTROL
Program raster paths from up to 30 m (100 ft) away using the intuitive handheld remote control. The ergonomic handheld controller includes steering control, corrosion programming and system diagnostics.
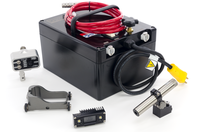
MANY ACCESSORIES
Enhance the NAVIC's capability with optional accessories: battery-powered optical guide, onboard camera, backpack, cable management, preamp and motorized couplant pump.
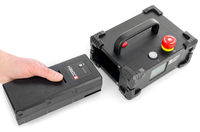
BATTERY POWER
Order the NAVIC with the battery kit and avoid using heavy, cumbersome generators. These rechargeable batteries can power the NAVIC system and accessories for hours at a time.
WARRANTY
All components of the NAVIC system are backed by a 3-year warranty.
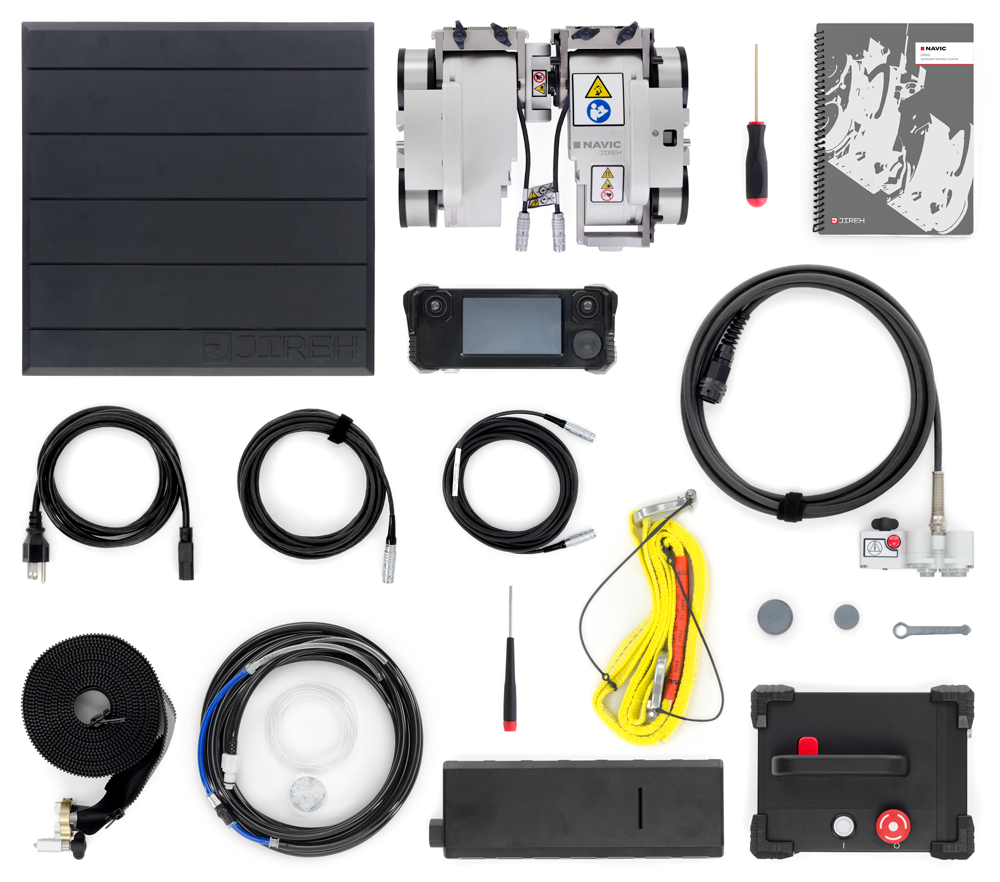
KIT CONTENTS
SCANNER
NAVIC base crawler
PARTS & ACCESSORIES
Power controller
Power supply (North American, European or UK plugs available)
Umbilical, 5 m (15 ft), 10 m (30 ft), 15 m (50 ft) or 30 m (100 ft) lengths available
Handheld controller
Auxiliary cable, 6 m (20 ft)
Cable management, threaded mount, (length dependent on umbilical length)
J300 encoder cable, 5 m (15 ft)
Installation/Removal mat
6 mm ID irrigation kit (7/16 in quick connect)
Lifting sling (safety tether)
User manual
Cap: NAVIC hinge cover
Plug
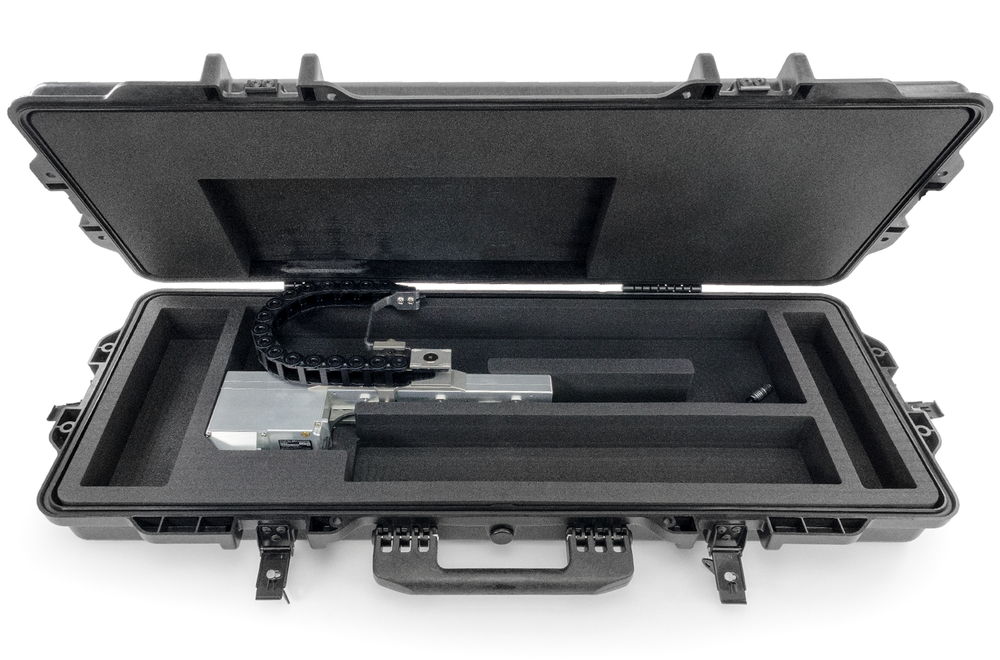
Rugged carrying cases (various types based on chosen accessories) x2 – x3
TOOLS
3 mm hex driver
3 mm flat driver
Wrench for pivot button adjustment
COMPONENT ID


BASE CRAWLER
The powerful base crawler carries probe holder frames, raster arms and a multitude of accessories for the purposes of weld and corrosion inspection.
INTEGRATED ENCODER
A spring-loaded encoder maintains surface contact on all various scan surface diameters.
MAGNETIC WHEELS
Powerful magnetic wheels ensure the crawler remains fixed to any ferrous surface.
POWER CONTROLLER
Compatible with both North American and European power sources, the power controller connects the user instrument and handheld controller to the base crawler.
UMBILICAL
The backbone of communication between the power controller and the base crawler.
HANDHELD CONTROLLER
Containing the NAVIC operating system, the handheld controller joysticks control speed and steering of the base crawler while the intuitive touchscreen allows for more intricate raster path and drive programming.
SPECIFICATIONS
GENERAL
Idler Encoder (Right Module): 13.78 counts/mm (349.9 counts/inch)
Motor Encoder (Left Module): 872.5 counts/mm (22162.8 counts/inch)
Crawler’s Vertical Payload: 10 kg (22 lb)1
Driving Speed: Variable 0 – 25 cm/sec (0 – 10 in/sec)
Power Requirements: 100-240VAC, 50/60Hz, 3.5 Amps
Umbilical Lengths: 5 m (15 ft), 10 m (30 ft), 15 m (50 ft) to 30 m (100 ft)2
Inspection Surface: Ferrous
Maximum Backpack payload: 1.36 kg (3 lb)3
PIPE RANGE
Pipe Range, Circumferential: 7 cm (2.75 in) to flat pipe
Range, Internal Circumferential: 61 cm (24 in) to flat
Pipe Range, Longitudinal: 30.5 cm (12 in) to flat
RADIAL CLEARANCE
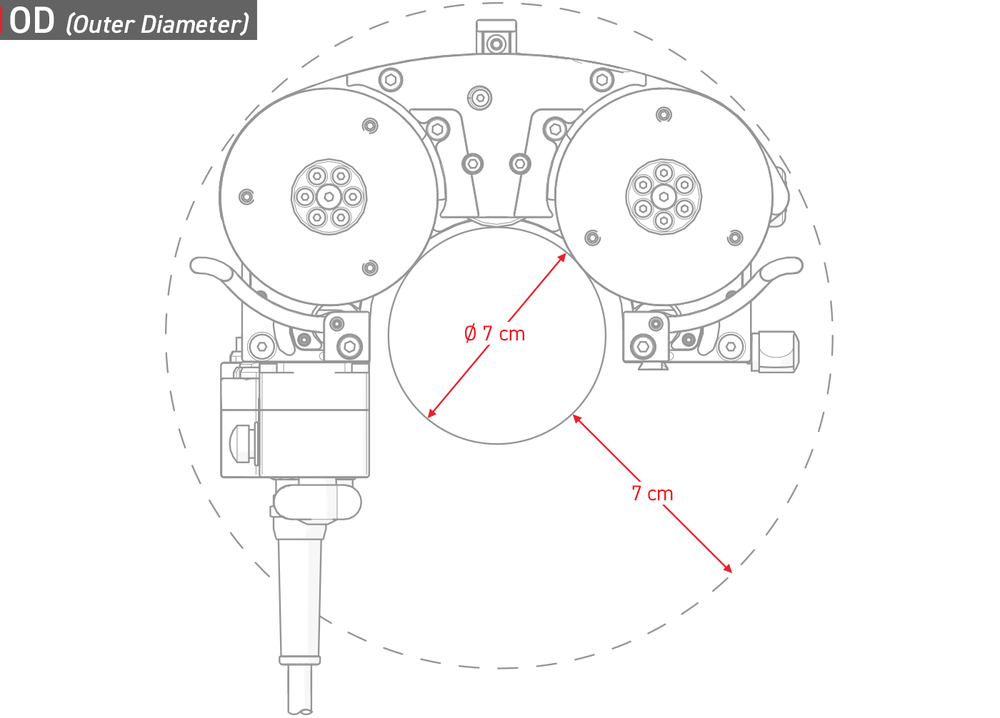
Radial Clearance, Pipes under 20 cm (8 in): 7 cm (2.75 in)4
Radial Clearance, Pipes over 20 cm (8 in): 8.15 cm (3.2 in)4
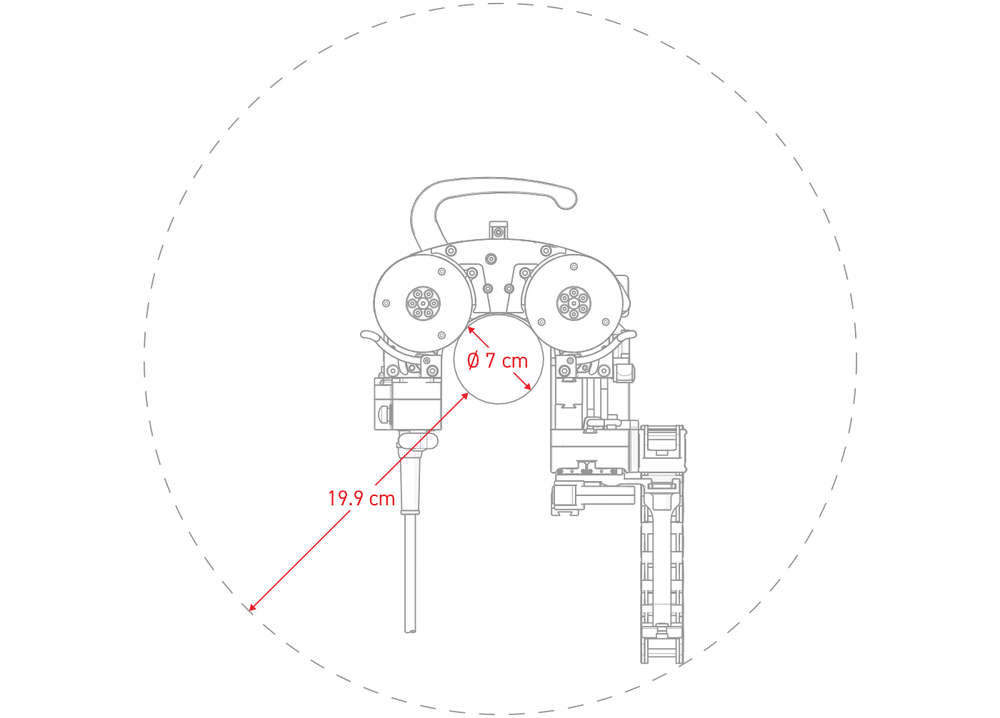
With Motorized Raster Arm and Cable Tray: 19.9 cm (7.8 in)
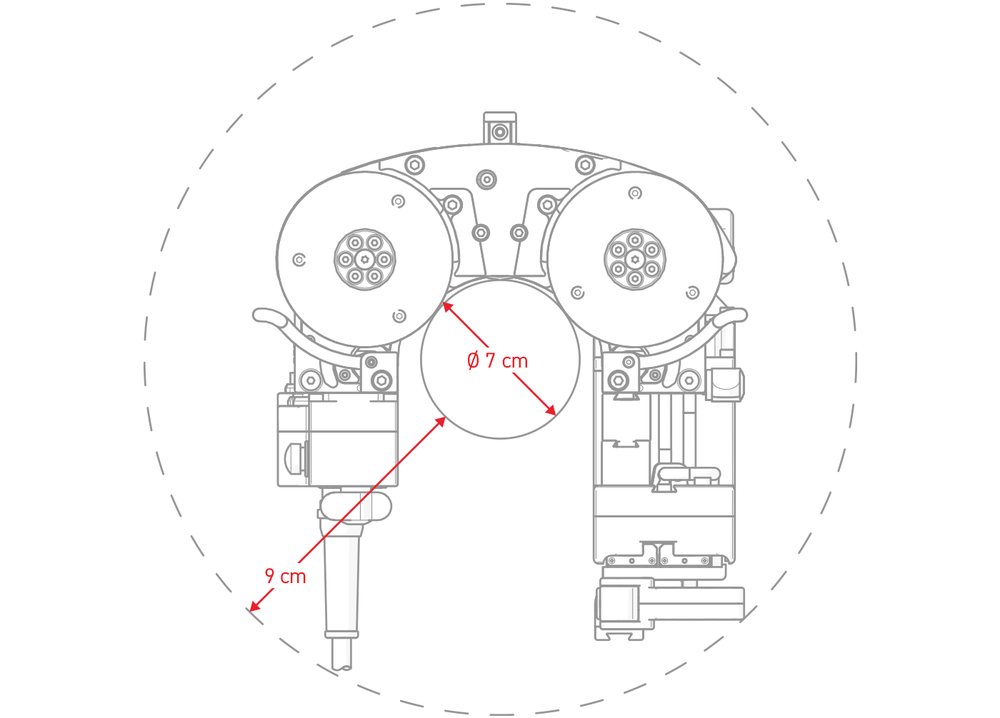
With Motorized Raster Arm and handles removed: 9 cm (3.5 in)
REGULATIONS
CE: European Union CE Declaration – Compliance with essential requirements and provisions of European Union directives.5
FCC: Compliance with Part 15 of FCC rules.5
Industry Canada: CAN ICES-3 (A)/NMB-3(A) – This class A digital apparatus complies with Canadian ICES-003.5
UKCA: United Kingdom Conformity Assessed – Compliance with relevant UK statutory requirements and legislation.5
SIZE & WEIGHT
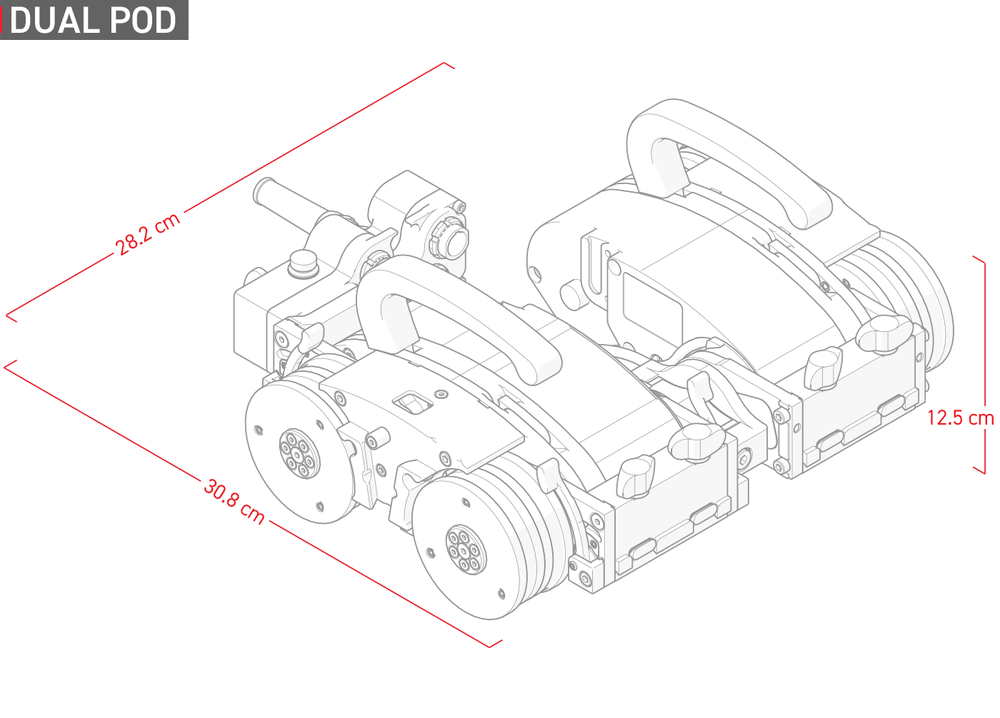
Base Crawler Height (including handles): 12.5 cm (4.9 in)
Base Crawler Height (handles removed): 8.1 cm (3.2 in)
Base Crawler Width (Dual Pod): 28.2 cm (11.1 in)
Base Crawler Length: 30.8 cm (12.1 in)6
Base Crawler Width (Single Pod): 16.1 cm (6.3 in)
Base Crawler Weight: 7.7 kg (17 lb)7
ENVIRONMENTAL SPECIFICATIONS
Operating Environment: -20°C (-4°F) to 50°C (122°F)
Environmental Sealing: Dust-tight, watertight (not submersible)
Maximum Inspection Surface Temperature: 150°C (302° F)8
RASTER ARM SPECIFICATIONS
Raster Arm Module Encoder: 240.2 counts/mm (6100.9 counts/inch)
Raster Arm Module Speed: 0 - 76.2 cm/sec (0 - 30 in/sec)
RASTER ARM WEIGHT
300 mm Raster Arm (12 in): 2.45 kg (5.4 lb)
600 mm Raster Arm (24 in): 3.36 kg (7.4 lb)
900 mm Raster Arm (35 in): 4.04 kg (8.9 lb)
1160 mm Raster Arm (45 in): 4.54 kg (10 lb)
HEAVY DUTY VERTICAL PROBE HOLDER SPECIFICATIONS
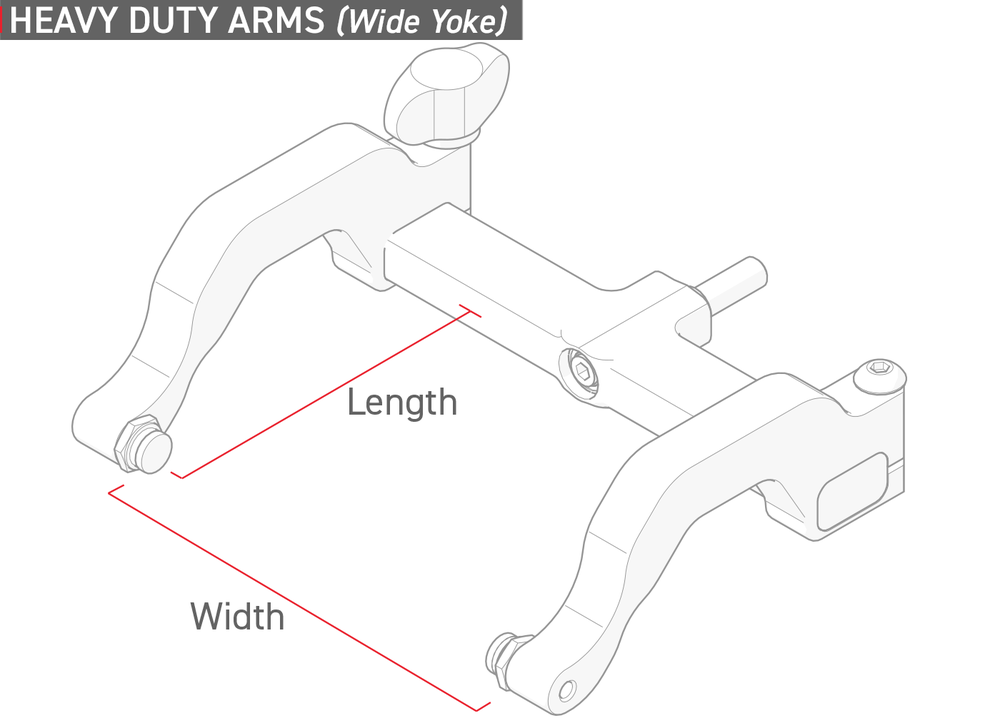
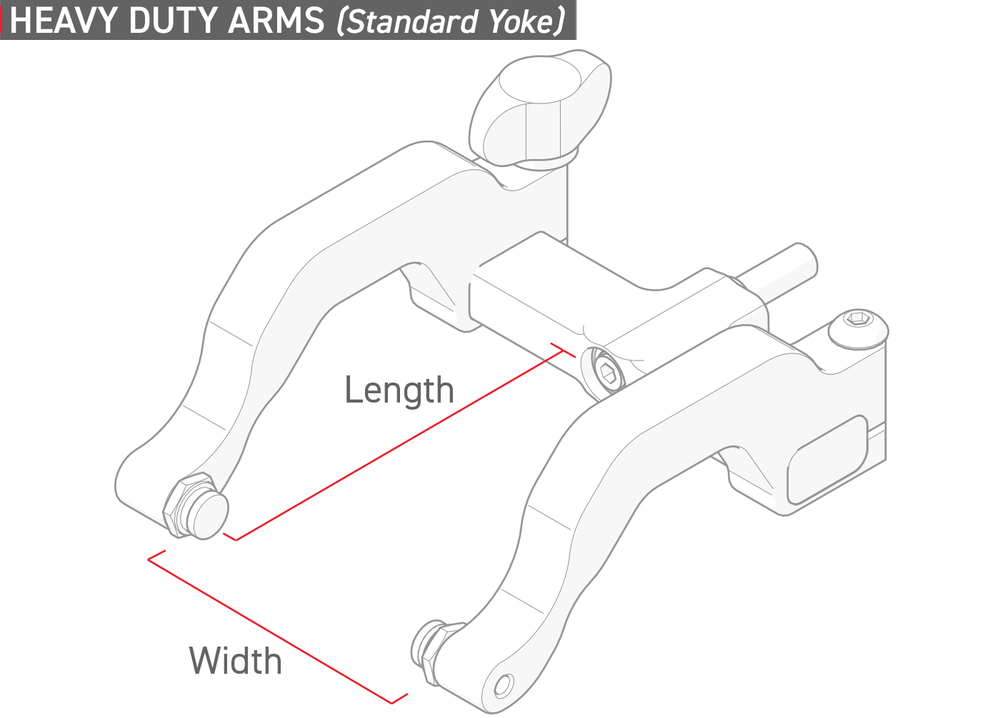
Standard Width: 17.4 mm (0.69 in) – 55 mm (2.17 in)
Standard Length: 63.5 mm (2.5 in)
Wide Width: 17.4 mm (0.69 in) – 93.8 mm (3.69 in)
Wide Length: 63.5 mm (2.5 in)
CORROSION THICKNESS PROBE HOLDER SPECIFICATIONS
SIZE AND WEIGHT
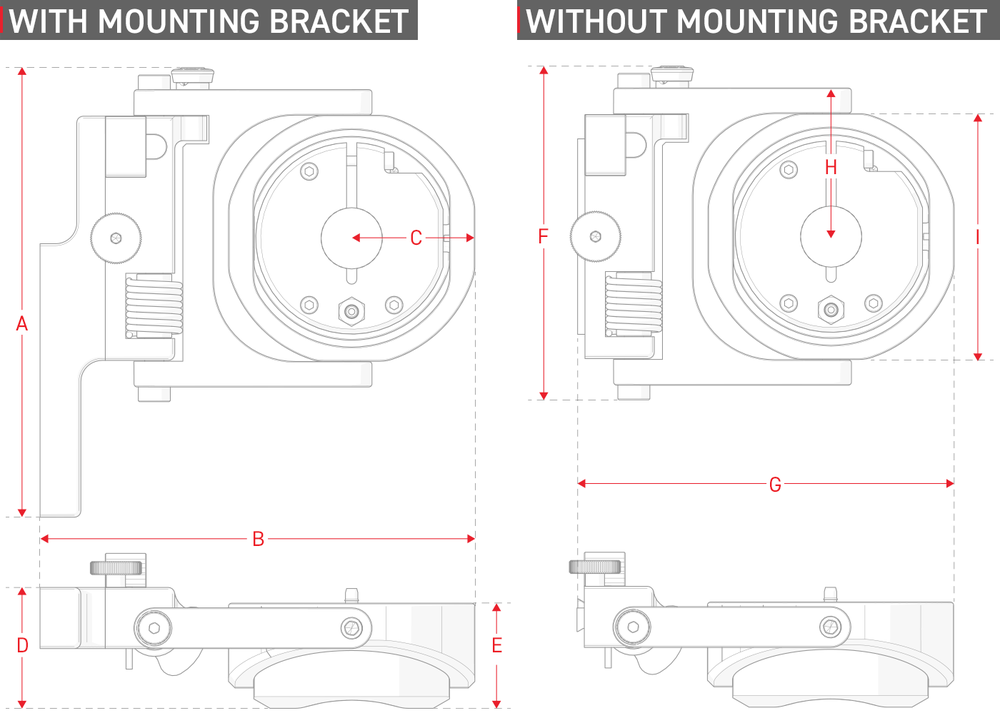
With Mounting Bracket
A - 140.09 mm (5.52 in)
B - 135.18 mm (5.32 in)
C - 38.28 mm (1.51 in)
D - 38.28 mm (1.51 in)
Weight: 0.5 kg (1.1 lb)
Without Mounting Bracket (Raster Arm Application)
E - 32.77 mm (1.29 in)
F - 104.08 mm (4.10 in)
G - 117.27 mm (4.62 in)
H - 46.33 mm (1.82 in)
I - 76.66 mm (3.02 in)
Weight: 0.4 kg (0.9 lb)
RECEPTACLE SIZES
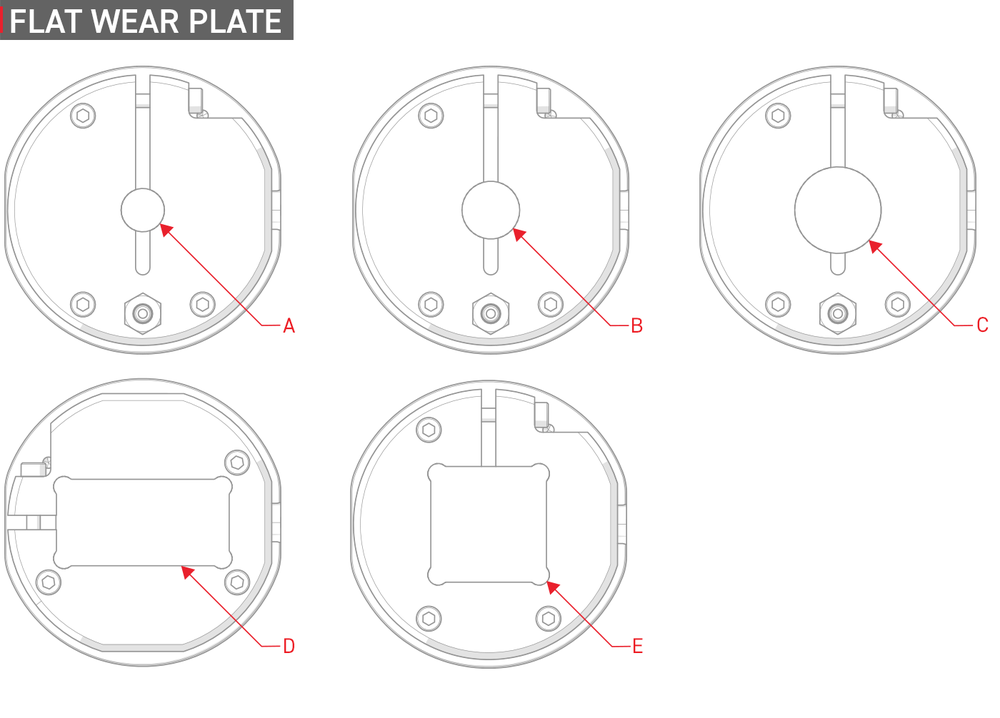
Flat Wear Plate
A - 9.53 mm (0.375 in) dia.
B - 12.7 mm (0.5 in) dia.
C - 19 mm (0.75 in) dia.
D - Technisonic
E - 25.4 mm (1 in)
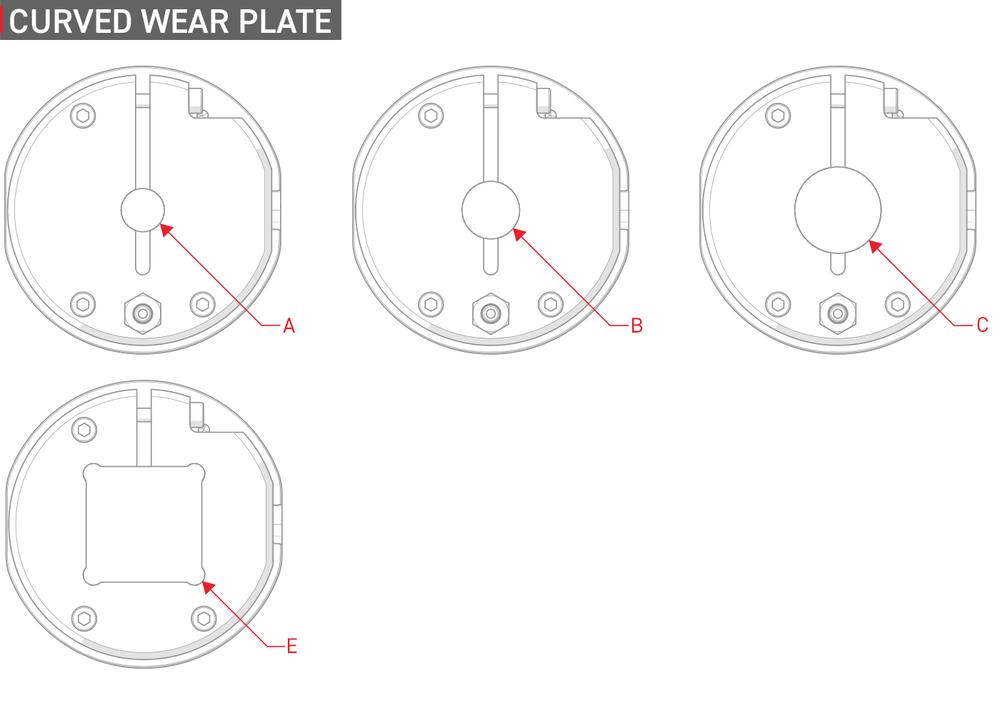
Curved Wear Plate
A - 9.53 mm (0.375 in) dia.
B - 12.7 mm (0.5 in) dia.
C - 19 mm (0.75 in) dia.
E - 25.4 mm (1 in)
