MOTIX - Weld Scanner
MOTIX - Weld Scanner
Conduct motorized ultrasonic inspection with the MOTIX - Weld Scanner. Inspect non-ferrous and ferrous materials with up to four probes on pipes as small as 6 inches in diameter. The quick-release chain system can also be assembled for pipes as large as 42 inches in diameter. This flexible system can also be used with a motorized raster arm to administer automated corrosion and delamination inspection.
Motorized weld inspection for non-ferrous materials.
FEATURES
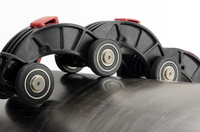
ADJUSTABLE CHAIN LINKS
The quick-release links are made from durable, fibre-reinforced plastic and can be adapted to form a chain system up to 106.7 cm (42 in) in diameter. These links make chain assembly extremely quick and easy as they simply press together. Disconnecting the links only takes the push of a button.
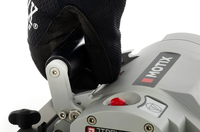
HANDLE
The convenient handle provides a safe point to hold the scanner. The handle can be adjusted to make room for various accessories or to reduce the scanner height.
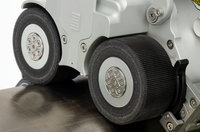
WHEELS
Large urethane wheels reduce the effects of debris on scanner travel and eliminate slippage during applications.
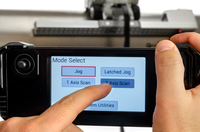
HANDHELD CONTROLLER
The handheld controller allows the user to control and adjust the system's settings. Program scan and raster paths from up to 30 m (100 ft) away using this intuitive remote controller. System diagnostics, alternative drive paths, variable speed control and more are found in this controller, while the magnetic back prevents drops when on site.
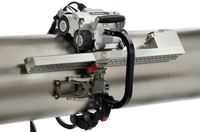
CORROSION INSPECTION
Do more than weld inspection. Mount any length of motorized raster arm to the MOTIX to perform precision thickness or delamination inspection.
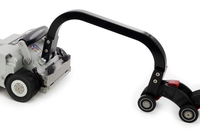
LARGE OVERTOP LINK
This link is designed for use when the MOTIX is outfitted with the motorized raster arm or when performing two probe weld inspections. The Large Overtop Link provides ample room for corrosion probes and raster arms to operate while maintaining the integrity of the chain system. The Large Overtop Link also assists when straddling the weld and using two probes.
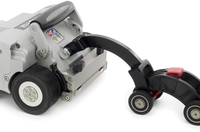
STANDARD OVERTOP LINK
The Standard Overtop Link allows a frame bar to be fitted to the MOTIX for cantilevered two or four-probe weld inspection.
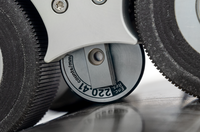
BUILT-IN ENCODER
A spring-loaded encoder is integrated into the body of the MOTIX and provides precise positional feedback even during drive wheel slip. The encoder output is selected at the time of purchase but can be modified later with adapter cables if required. JIREH scanners are compatible with all standard instruments.
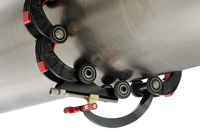
FERROUS AND NON-FERROUS SURFACES
A chain system means the MOTIX can be mounted to ferrous and non-ferrous pipes/tubes. The buckle connects the two ends of the chain system and features adjustment of the chain system tightness.
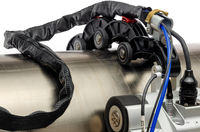
CABLE MANAGEMENT
Reduce the chance of damaging sensitive probe cables and keep irrigation hoses organized and clean in cable management.
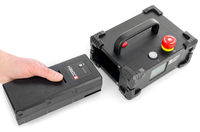
BATTERY POWERED
Order the MOTIX with the battery kit and avoid using heavy, cumbersome generators. These rechargeable batteries can power the MOTIX system and accessories for hours at a time.
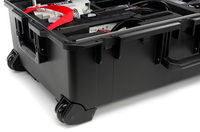
RUGGED CARRYING CASE
Protect the equipment during transport, and the heavy-duty wheels assist with a heavy load. Foam cutouts secure and organize the components of the scanner within the case.
WARRANTY
JIREH supports the products it sells. Including offering a limited 3-year warranty with purchase.
COMPONENT IDENTIFICATION

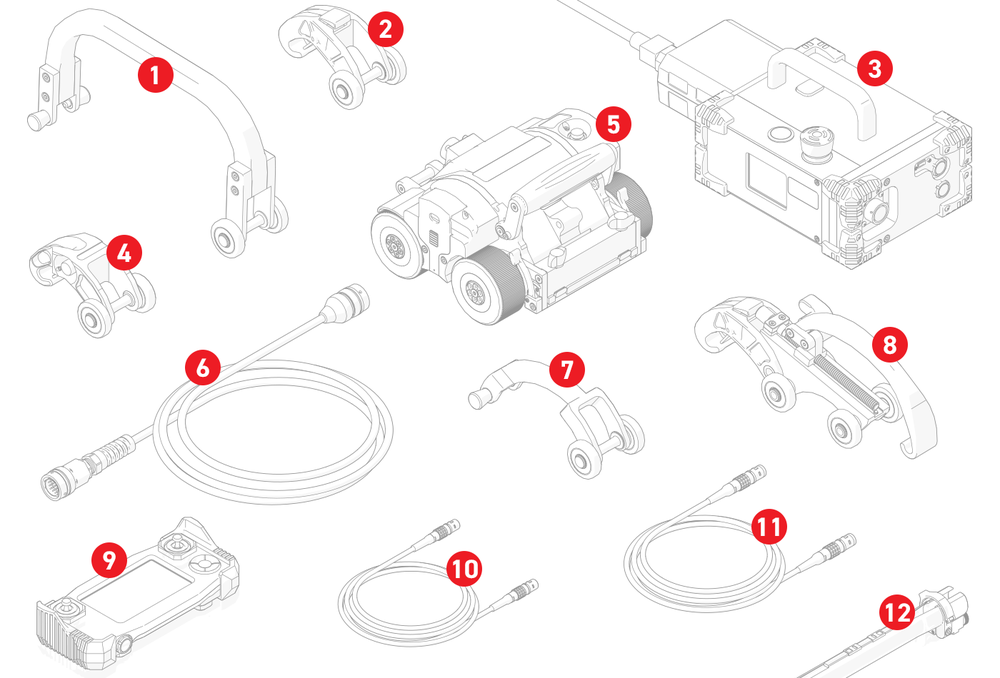
LARGE OVERTOP LINK
This link is used when a motorized raster arm is attached to the MOTIX. It can also be used when mounting two probe holders to the front of the crawler for weld inspection.
CHAIN LINK
These quick-release links easily assemble to form the chain system for any diameter up to 42 inches.
POWER CONTROLLER
The power controller provides power to the system and is compatible with the optional battery kit.
DOVETAIL CHAIN LINK
The dovetail chain link provides a mounting point for accessories such as cable management.
MOTIX CRAWLER
The powerful MOTIX crawler contains a positional encoder and robust motor, which propels the system around a pipe. The urethane wheels provide an excellent grip on non-ferrous surfaces.
UMBILICAL
The connection between the crawler and the power controller. Available in various links, the umbilical is the backbone of the system.
STANDARD OVERHEAD LINK
The standard overhead link provides additional radial clearance when performing cantilever weld inspection.
BUCKLE
The buckle connects two assemblies of chain links around a pipe or tube. The buckle can also adjust the chain tension as required.
HANDHELD CONTROLLER
A touchscreen controller with haptic feedback controls the system. Manipulate settings, program raster paths, drive the crawler, and so much more functionality is found in the handheld controller. Magnets on the back of the controller let you place it on ferrous surfaces and avoid drops.
AUXILIARY CABLE
Connects to the handheld controller.
ENCODER CABLE
Custom encoder cables are built to order. Positional information is fed directly to the instrument of your choice.
CABLE MANAGEMENT
Protect and organize your cables and irrigation with cable management.
SPECIFICATIONS
GENERAL
Encoder Resolution: 220.4 counts/mm (5,598.4 counts/in)
Maximum Payload: 9 kg (20lb)1
Maximum Speed: Variable 0 -14.2 cm/sec (0 - 5.6 in/sec)
Power Requirements: 100-240VAC, 50/60Hz, 3.5 Amps
Umbilical Lengths: 5 m (15 ft), 10 m (30 ft), 15 m (50 ft) to 30 m (100 ft)2
Inspection Surface: Non-ferrous and ferrous
PIPE RANGE
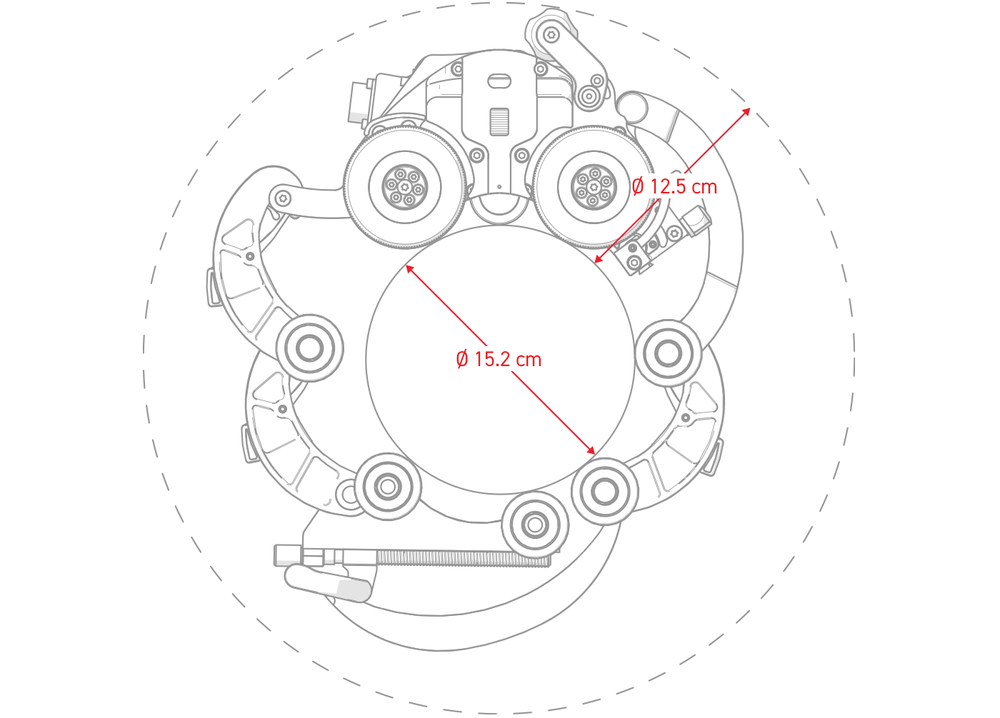
Outer Diameter with Standard Overtop Link (EJS013): 15.2 cm (6 in) to 106.7 cm (42 in)
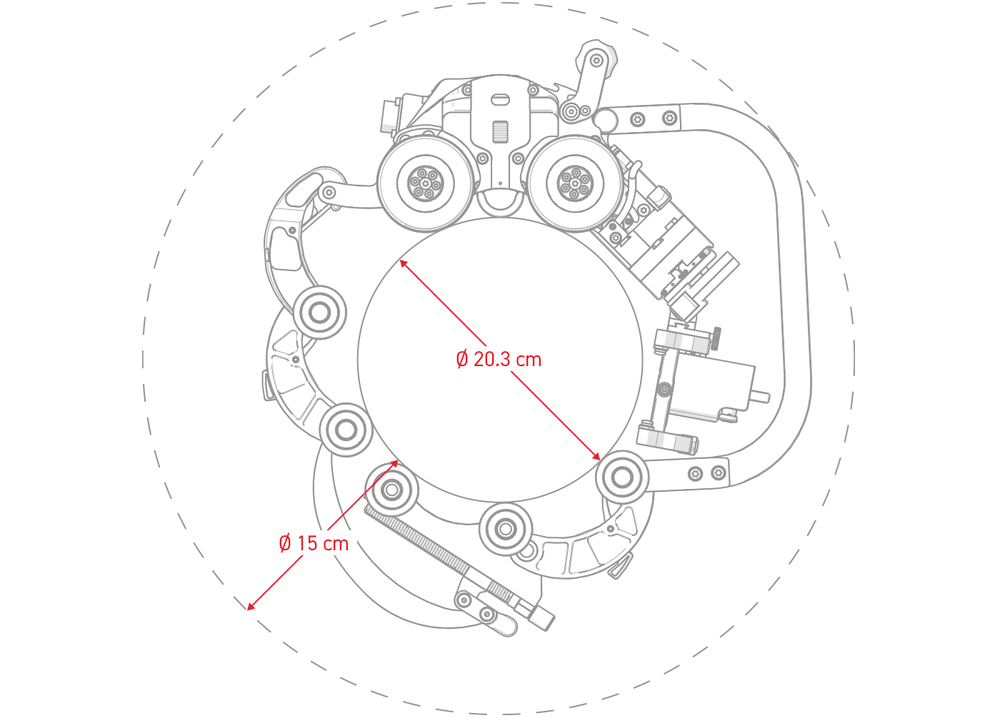
Outer Diameter with Large Overtop Link (EJS014): 20.3 cm (8 in) to 106.7 cm (42 in)
RADIAL CLEARANCE
With Standard Overtop Link (EJS013): 12.5 cm (4.9 in)
With Large Overtop Link (EJS014): 15 cm (5.9 in)
REGULATIONS
CE: European Union CE Declaration – Compliance with essential requirements and provisions of European Union directives.3
FCC: Compliance with Part 15 of FCC rules.3
Industry Canada: CAN ICES-3 (A)/NMB-3(A) – This class A digital apparatus complies with Canadian ICES-003.3
UKCA: United Kingdom Conformity Assessed – Compliance with relevant UK statutory requirements and legislation.3
SIZE & WEIGHT
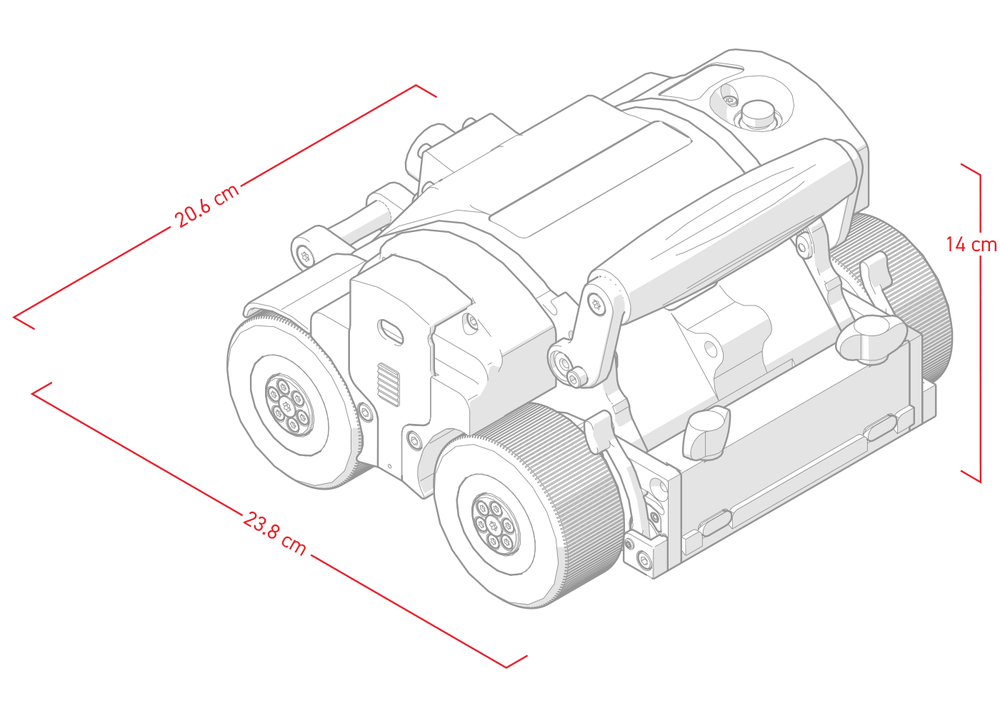
Base Crawler Height: 14 cm (5.5 in)
Base Crawler Width: 20.6 cm (8.1 in)
Base Crawler Depth: 23.8 cm (9.4 in)
Crawler Weight: 4.6 kg (10.2 lb)
ENVIRONMENTAL SPECIFICATIONS
Operating Environment: -20°C (-4°F) to 50°C (122°F)
Environmental Sealing: Dust-tight, watertight (not submersible)
PROBE HOLDER SPECIFICATIONS
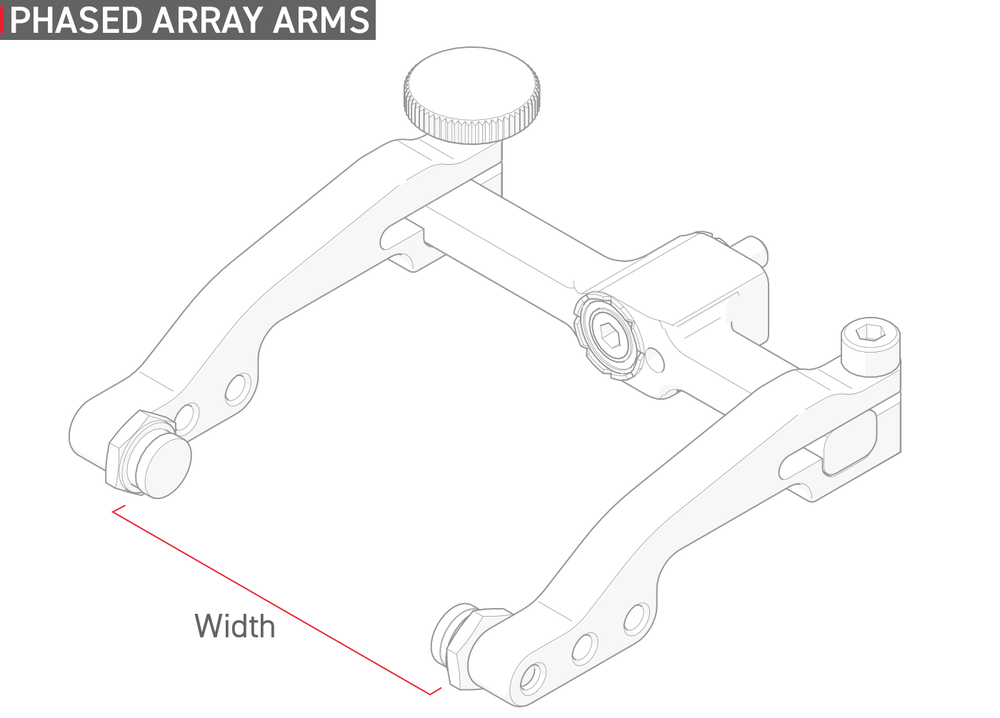
PHASED ARRAY PROBE HOLDER SPECIFICATIONS
Minimum Wedge Width: 17.1 mm (0.7 in)
Maximum Wedge Width: 57.6 mm (2.3 in)4
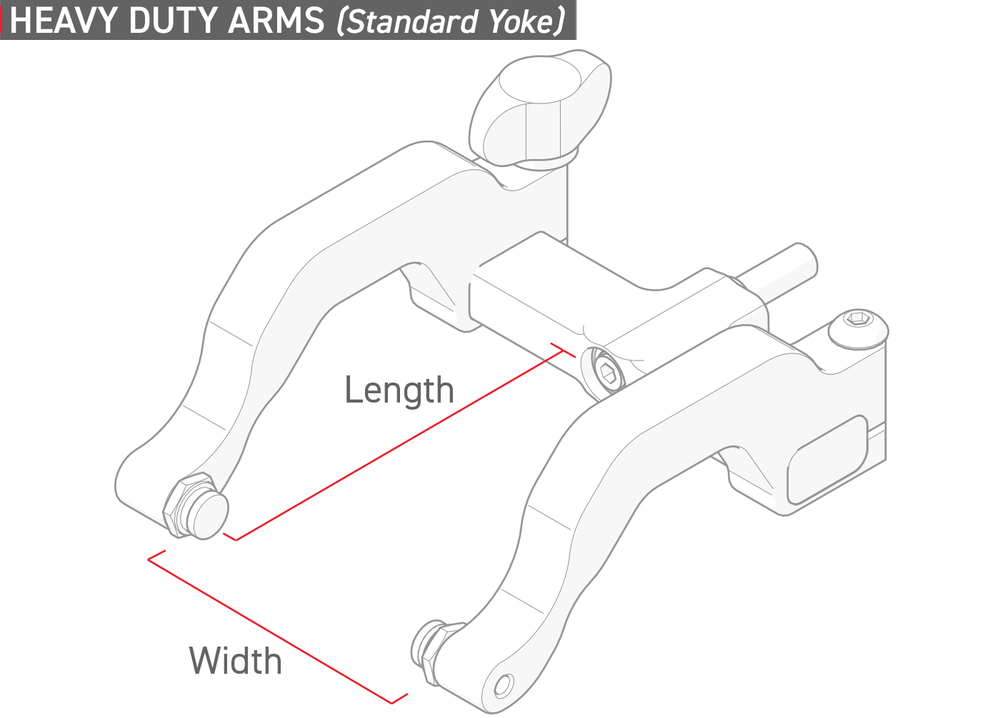
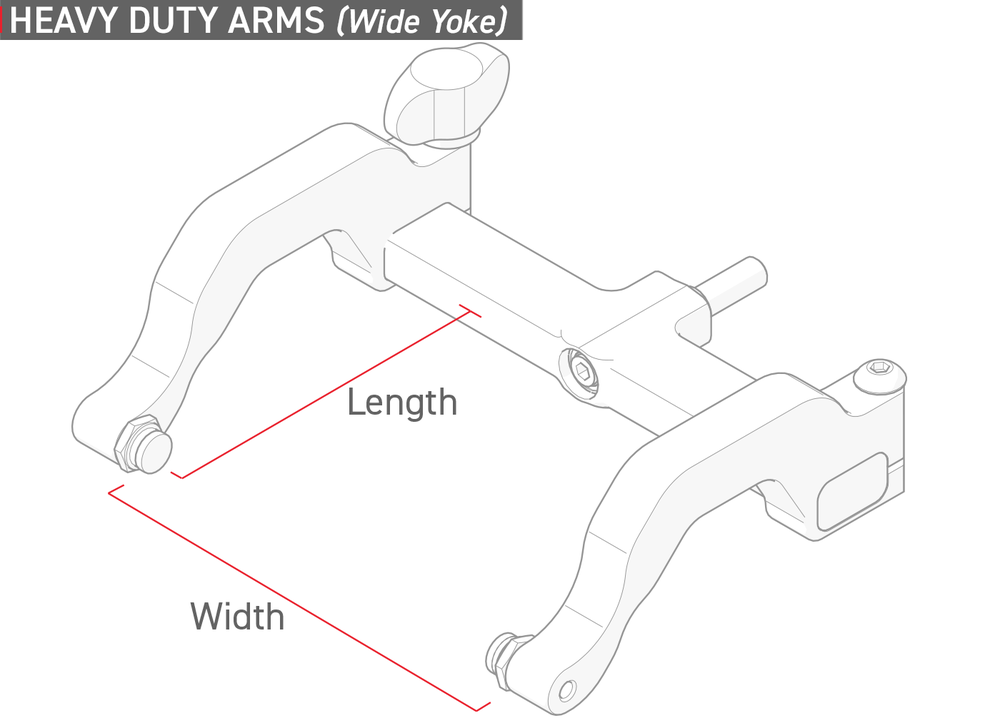
HEAVY DUTY VERTICAL PROBE HOLDER SPECIFICATIONS
Standard Yoke
Minimum Wedge Width: 17.4 mm (0.69 in)
Maximum Wedge Width: 55 mm (2.17 in)
Standard Length: 63.5 mm (2.5 in)
Wide Yoke
Minimum Wedge Width: 17.4 mm (0.69 in)
Maximum Wedge Width: 93.8 mm (3.69 in)
Wide Length: 63.5 mm (2.5 in)
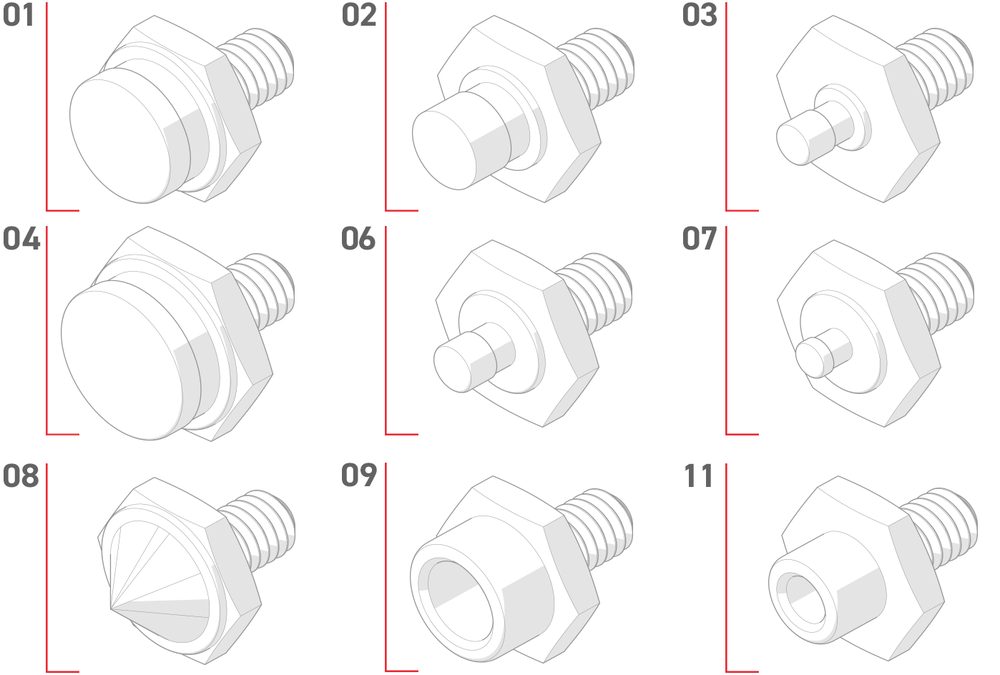
PROBE HOLDER PIVOT BUTTONS
01
Pivot Hole Size: 8.0 mm (0.315 in)
Wedge Type: Olympus PA
Hex Size: 9.53 mm (3/8 in)
02
Pivot Hole Size: 5.0 mm (0.197 in)
Wedge Type: Olympus TOFD, Olympus A27 DMA
Hex Size: 9.53 mm (3/8 in)
03
Pivot Hole Size: 2.7 mm (0.106 in)
Wedge Type: Sonatest DAAH PH
Hex Size: 9.53 mm (3/8 in)
04
Pivot Hole Size: 9.5 mm (0.375 in)
Hex Size: 11.1 mm (7/16 in)
06
Pivot Hole Size: 3.0 mm (0.118 in)
Hex Size: 9.53 mm (3/8 in)
07
Pivot Hole Size: 2.3 mm (0.09 in)
Hex Size: 9.53 mm (3/8 in)
08
Pivot Hole Size: Conical Head
Hex Size: 9.53 mm (3/8 in)
09
Pivot Hole Size: 5 mm (0.197 in)
Wedge Type: Internal Zetec PA/TOFD, Phoenix TOFD
Hex Size: 9.53 mm (3/8 in)
11
Pivot Hole Size: 5.6 mm (0.221 in)
Hex Size: 9.53 mm (3/8 in)
POWER CORDS
POWER REQUIREMENTS
100-240VAC, 50/60Hz, 3.5 Amps
PLUG DESIGNATION
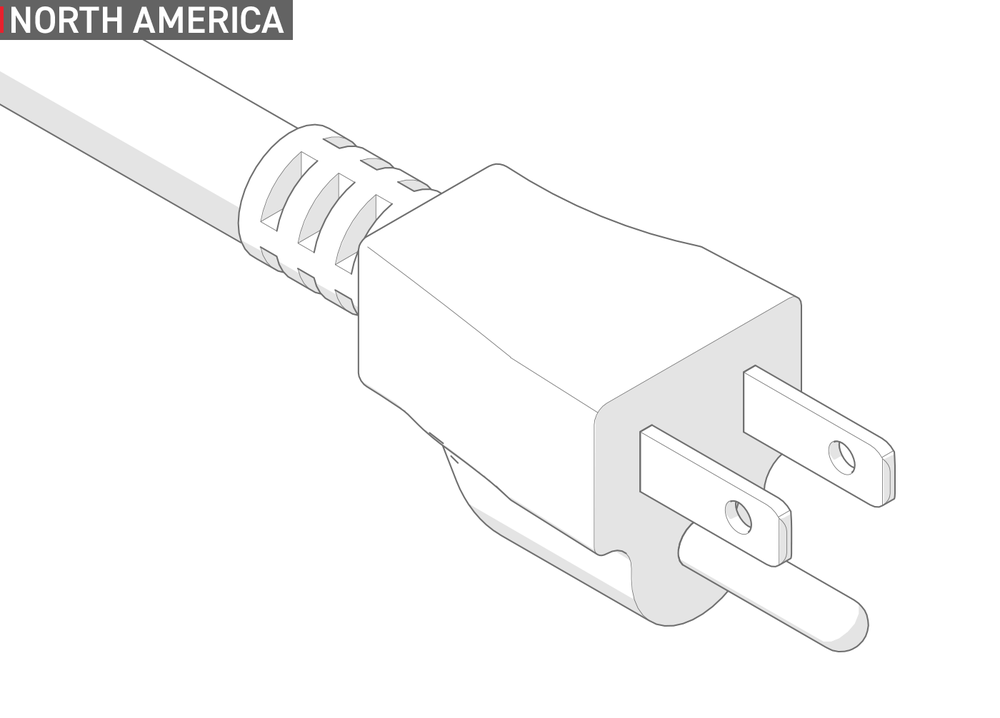
North America
NEMA 5-15P
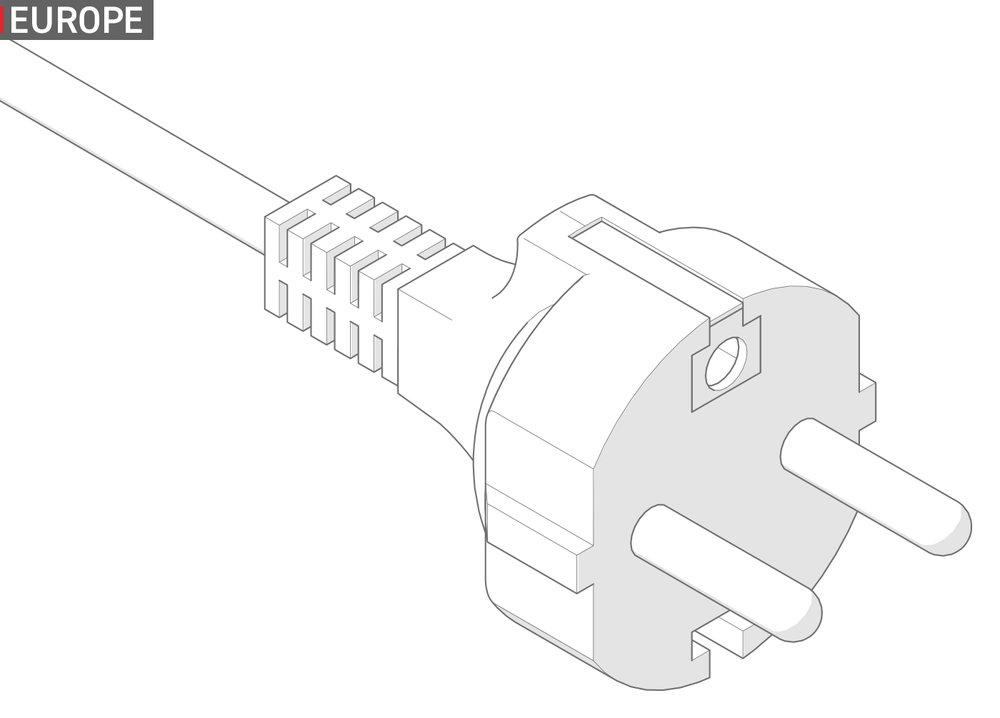
Europe
CEE7/7
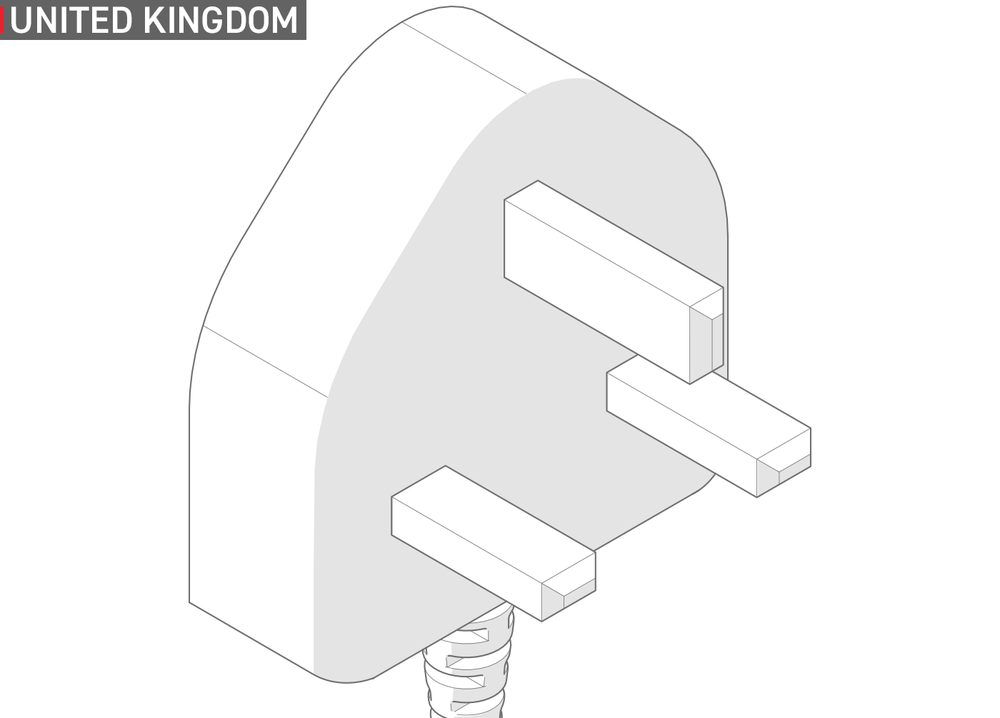
UK
BS1363A

