Skip to product information
1 of 1

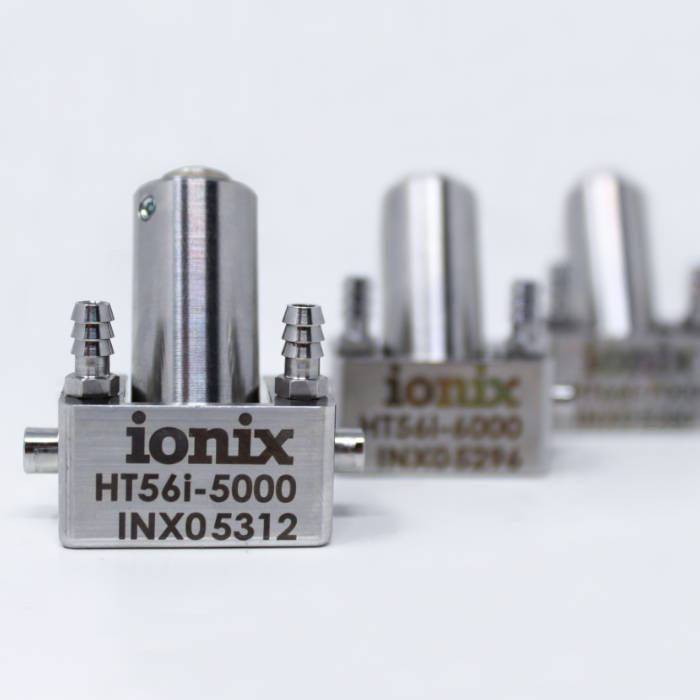
HotSense™ Time-Of-Flight-Diffraction (TOFD)

HotSense™ Time-Of-Flight-Diffraction (TOFD)

Minimise operational risk and maximise productivity with on-stream asset intelligence with continuos use temperature of -55 to +350°C

Time-of-flight diffraction transducers for on-stream weld root corrosion and crack/defect detection for use in applications across refining, oil & gas, energy, nuclear, aerospace, and process sectors.

OUR TECHNOLOGY

  • Built on the award winning HotSense ultrasonic platform powered by the proprietary Ionix HPZ piezo-ceramic, and offering increased heat resilience.
  • -55 to +350 °C [-67 to +662 °F] continuous use temperature range.
  • No cooling required. Increase your productivity by reducing duty cycling.
  • High sensitivity with integrated wedges across the temperature range.
  • Compatible with commercial scanners and crawlers.
HotSense-TOFD-Test
HotSense-TOFD-Probes-Range
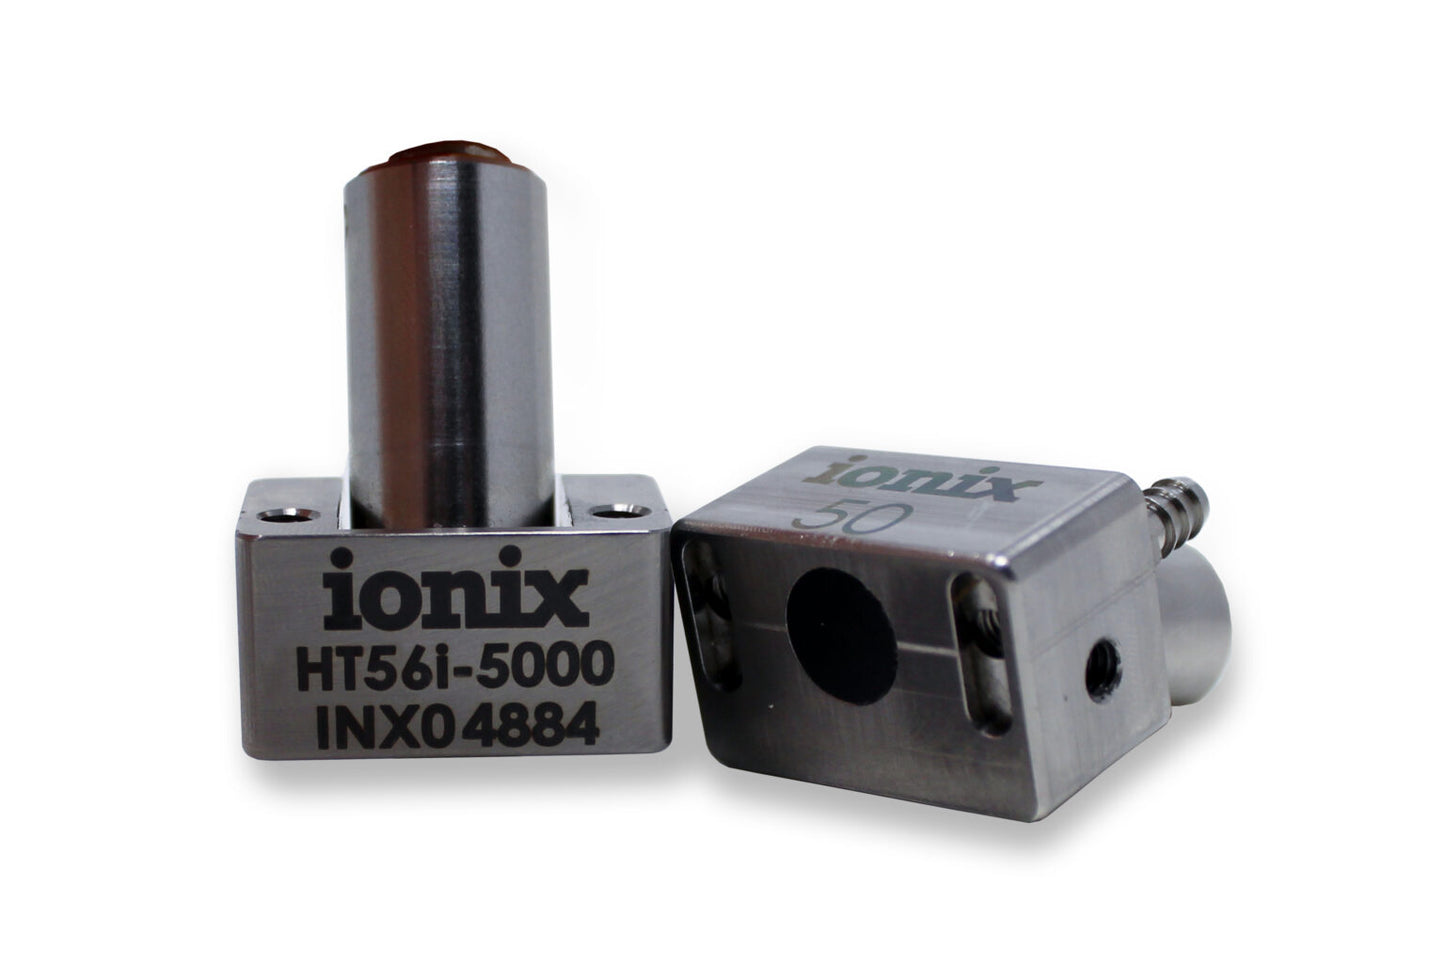
HotSense High Temperature Time of Flight Diffraction (TOFD) Probe

ADVANTAGES

  • Stable signal for reliability and repeatability – no duty cycling means no drift from thermal gradients in the wedges.
  • Short approach to beam exit to get closer to weld caps.
  • Enhanced wear resistance for the most extreme environments and applications.

TECHNICAL DETAILS

  • Make weld inspections on hot assets, on-stream, without the need to shutdown or isolate.
  • Make effective weld root corrosion assessments rapidly at high-temperature.
  • Detect and size cracks or defects in welds or parent material on-stream.
  • Screen for HTHA in-service.
  • TOFD carries the highest POD for NDT methods.

TRANSDUCER SPECIFICATION

Parameter Value Unit
Surface temperature range* -55 to +350 / [-67 to +667] °C / [ °F]
Refracted Beam 50, 60 and 70, longitudinal at 200 °C / 392 °F * degrees
Wedges Engineering polymer in steel, integrated
Profiled on request
mm / [in]
Connector type Lemo 00 -
Pivot pins 5 mm pins as standard ** -
Couplant nozzles to fit 4 - 4.5 mm tubes -
Ruggedisation Designed to meet IP 65
Stainless steel construction
-
Acoustic characteristics certificate of conformity to ISO 22232-2 supplied with each unit
Transducer centre frequency 5.0 at 50 & 60 deg wedge angle
6.0 at 70 deg wedge angle
MHz
Active element diameter 6.0 mm
Beam exit distance from edge 1.5 mm


Compatible with UT flaw detectors and scanners
*Refracted angle temperature dependence on steel
**Other variations available via special request
For couplant, cables accessories and other specifications please contact our sales team

MEASUREMENT RANGE

Parameter Value Unit
Minimum wall thickness 6 mm

FAQ

  • What thickness gauges and flaw detectors are compatible with HS582i?

    HS582i is compatible with all standard ultrasonic thickness gauges and flaw detectors that can display an A-scan. The probes have dual microdot connectors as standard which can be used with any compatible cable to provide connections to your unit.

  • What is the maximum continuous operating temperature of HS582i?

    The probe can work continuously on surface temperatures up to 350°C (662°F). Above this temperature the probe should be duty cycled in accordance with the chart

  • What couplant should I use for high temperature measurements?

    For high temperature measurements, Ionix recommends and supplies a range of Echo Ultrasonics couplants. These couplants can be purchased through the Ionix website.

  • Can I buy HS582i in my country?

    HS582i is available globally either direct from Ionix or through one of our many distribution channels. Please complete our enquiry form to receive directions on how best to order in your country.

  • Can HS582i be used for corrosion mapping / scanning?

    Yes. HS582i Is an excellent probe for scanning due to its high operating temperature and increased wear resistance. Several leading NDT scanning companies already offer attachments for the HS582i probes. They are also fitted with mounting points to allow mounting to a range of 3rd party scanning cradles. Please contact Ionix for more information on the subject including example applications.

  • What materials can be tested?

    The HS82i provides very precise thickness measurements on many materials, including metals, plastics, glass, and ceramics. The device can also be used to measure through coatings/paint on the surface. The measurement range on these materials does alter, but ensuring the device is aligned correctly accurate measurements can be taken easily.

  • Using automatic “Zero compensation” feature on my thickness gauge?

    Conventional dual transducers are often calibrated at ambient and moved to a test piece at a radically different measurement temperature which causes the ‘Zero’, or delay, to change rapidly which can give misleading results.
    To adjust for this, many UT thickness gauges feature an auto-Zero compensation function for dual element transducers which offer a convenient means of making quick zero compensation calibrations to get started with your thickness measurements, and adapt to the dynamic changes in temperature due to calibration and measurement and frequent duty cycling to protect the transducer from damage.

    Due to the high-temperatures achievable by the HS582i, this auto-Zero compensation may not always fall within the expected range of a thickness gauge.

    If this occurs, an alternative method is to undertake a Zero calibration using a known thickness of the measured material, as you would do if using a flaw detector or meeting the requirements of a standard in your procedure, such as ISO 16809 for ultrasonic thickness measurements.
    This is often referred to in your gauge user manual as Zero Calibration, or as a method for high accuracy measurements.
    Pre-heating your transducer to the measurement temperature and soaking for a minute or two will mean that the calibration is also held for much longer as the temperature remains relatively constant, reducing the need for repeated zero-compensation.

    See our user guidance above for more information.


View full details