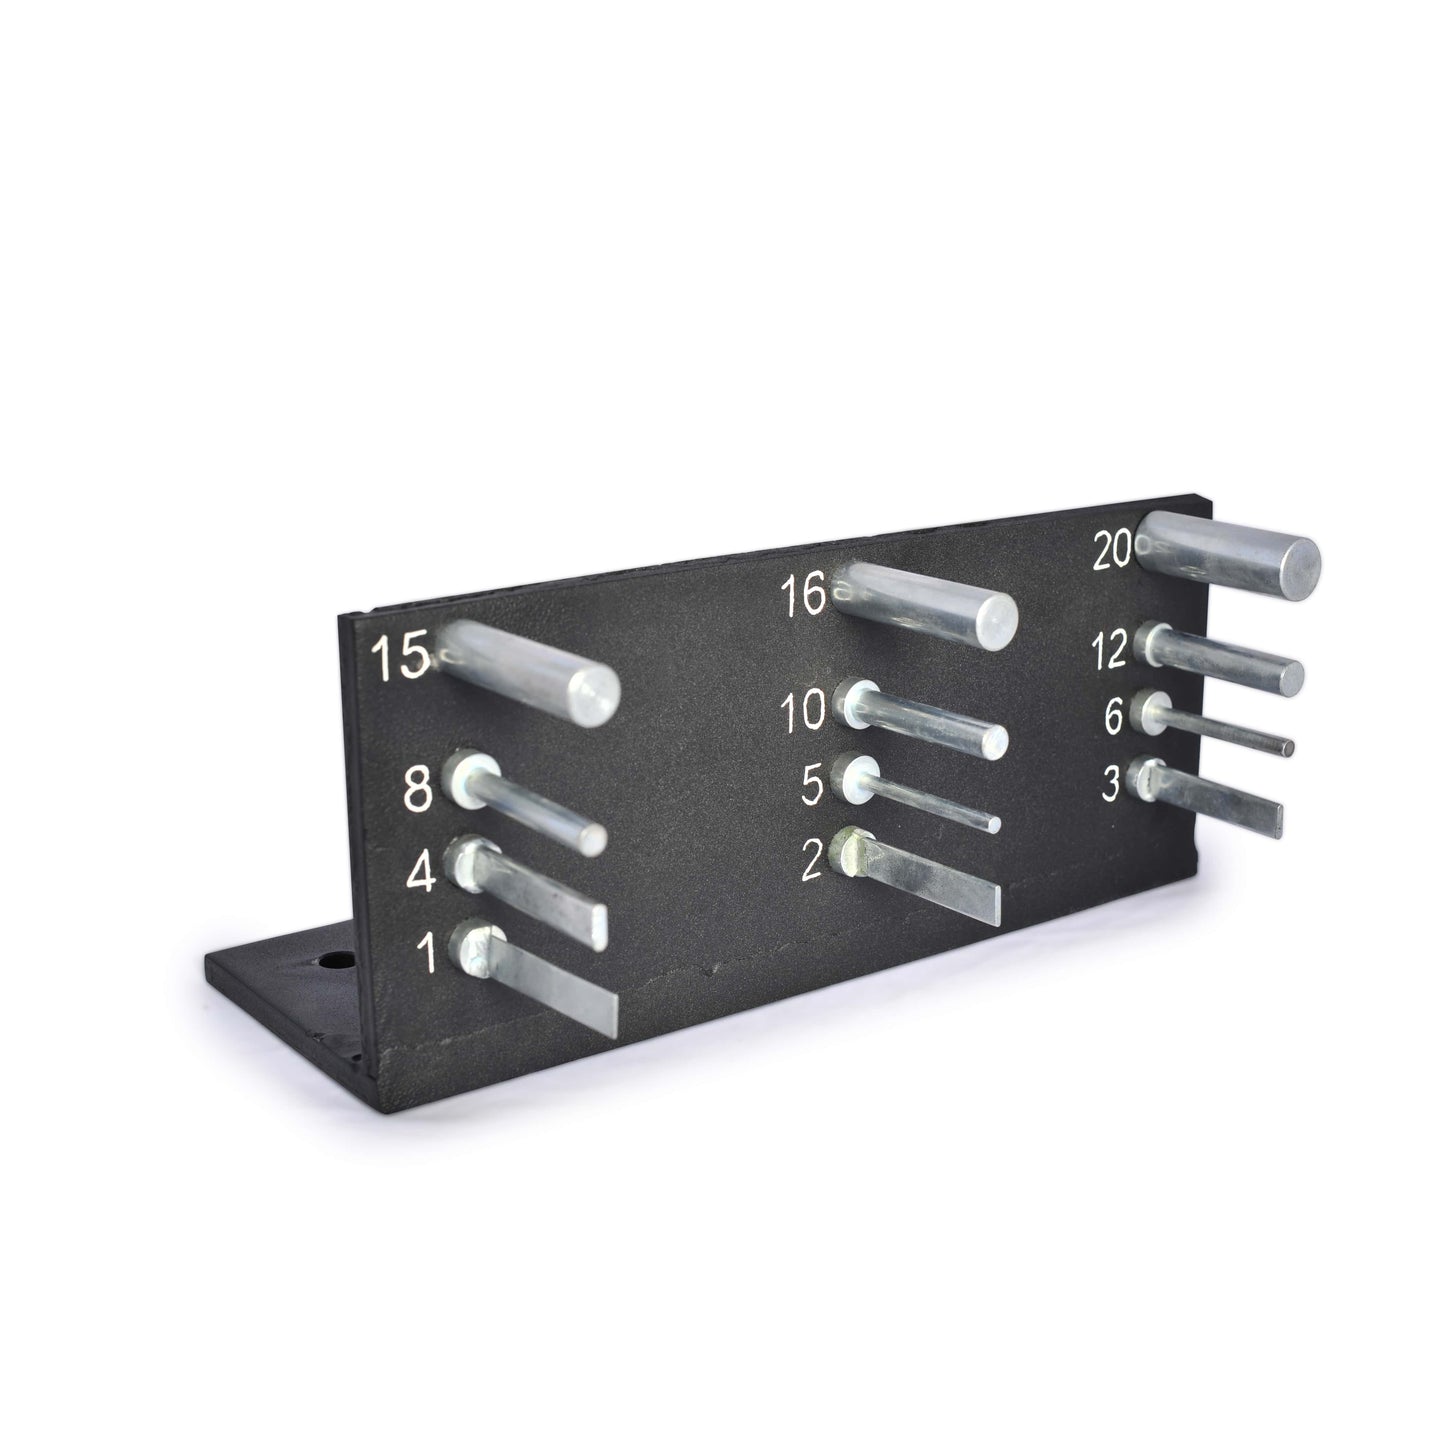
Bending Coating Tester NOVOTEST BEND ShG
Bending Coating Tester NOVOTEST BEND ShG
The instrument measures the elasticity, flexural strength of coatings through rounding the tested sample on the set of cylindrical rods which diameters are from 1 mm to 20 mm.
The instrument complies with ISO 1519-73, extends to coating materials and sets the definition method of elasticity of the film at a bend.
The method consist in the determining the minimal diameter of the cylindrical metal rod, after bending around which, the coating of painted metal plate, does not get the mechanical destruction or de-lamination of single- or multi-layer paint film (ISO 1519, DIN 53 152).
Application of the device
It is recommend to use painted tin plate for testing.
Tin has to have a smooth surface without any voids, rusty spots, and impurity.
The test samples are rectangular plate with 100 – 150 length mm and 20 – 50 mm, which are made of black polished tin sheets 0,25 – 0,32 mm of thickens, or aluminium sheets and strips 0,25 – 0,30 mm of thickness, with single-layer or multi-layer paint film on them.
The method of applying the paint on the material, thickness of film, number of layers, conditions and time of drying and exposure of the film before the test, must be specified in the specifications and technical documentation of the test material.
Before testing the samples are withstand at the conditions which are specified in the specifications and technical documentation of the testing material.
The time and degree of drying is determined according to ISO 1519, DIN 53 152.
The thickness value of tested paint film which applied to the plate can be measured with coating thickness gauges, for example Coating Thickness Gauge NOVOTEST TP-1.
The tin plate (coated side to outside) is put on the rod with maximum diameter (20 mm), pressed tightly to the rod and smoothly bend it within 1 – 2 s for 180 ° around the rod.
After that coating layer at the bend-place is to be analysed using a magnifying glass with 4-fold zoom for cracks and delamination.
If defects are absent, user has to continue bend the plate, but each time in a different location, successively from larger to smaller diameter of the rod, until detected the mentioned above defects.
If the specifications and technical documentation to the painting material stipulated the value of elasticity (rod diameter), the test is carried out using only the rod of this diameter.
The result is the minimal diameter of the rod in millimetres, that causes no destruction while the test` on paint film.
Evaluation of the elasticity value of the film through the bending on a metal rod takes three tests of plates on the same rod.


